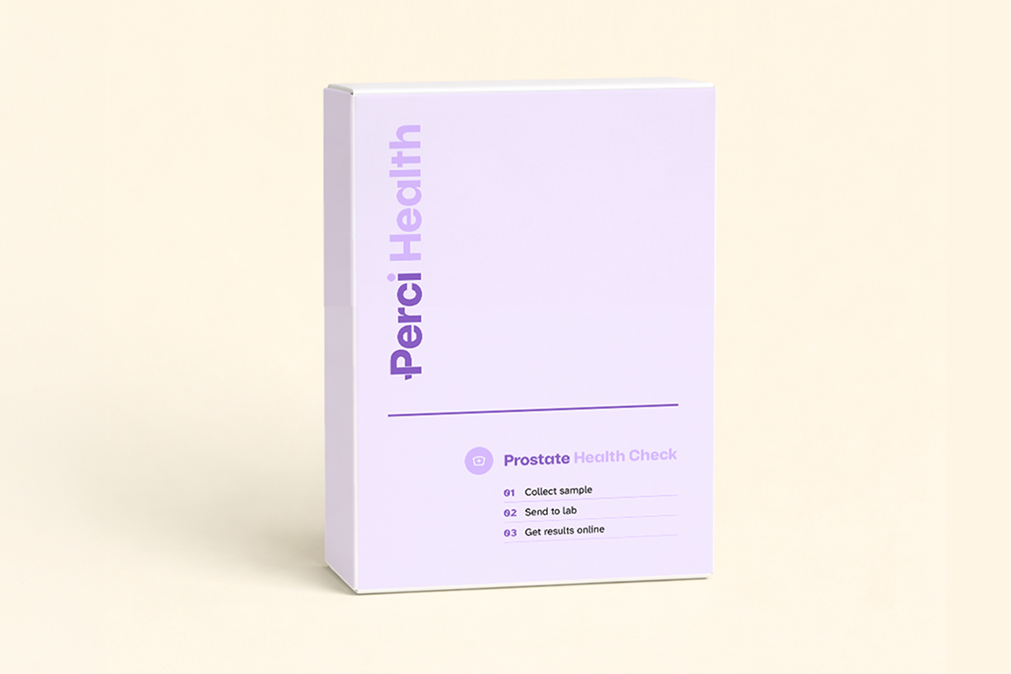
Before you start
Your PSA test kit should contain finger-prick lancet(s), a small blood collection tube, alcohol wipe(s), a plaster, a biohazard bag, a label, a laboratory form, a pre-addressed return envelope, and an instruction leaflet.
The best time to do your test is in the morning when your hands are warm. Make sure you’re relaxed and not rushed.
Do not do the test if you have recently:
- Done vigorous exercise (wait 48 hours)
- Cycled (wait 48 hours)
- Ejaculated (wait 48 hours)
- Had a prostate examination (wait one week)
- Had a urinary catheter or cystoscopy (wait six weeks)
- Had a urine infection (wait six weeks after it has fully cleared)
These can temporarily raise PSA levels and give a false reading.
Getting ready
Before you start the test:
- Wash your hands thoroughly with warm (not hot) water and soap (cold hands can make it more difficult to collect a sample)
- Swing your arms in circles to encourage blood flow to your fingers
- Massage your hands
- Keep your hands below heart level
- Drink a glass of water 15 minutes before (this helps blood flow)
- Have everything laid out on a tissue or paper towel
- Complete any paperwork and labels before starting
- Read all instructions thoroughly
- Open the alcohol wipe but don’t use it yet
Step-by-step guide
Step 1: Complete the label and form
Using a ballpoint pen, clearly complete the following information on the tube label and laboratory form sent with the kit.
- Your full name
- Your date of birth
- The date and time you collected the sample
Please note: If the tube labels and laboratory form are not completed correctly, your sample may not be able to be processed.
To ensure the fill level markings remain visible during collection, DO NOT attach the tube label to the sample collections until after the tube has been filled.
Step 2: Clean and prepare
To help ensure a smooth blood flow, make sure you’re well hydrated by drinking plenty of water before collecting your sample.
Remove the tube from the protective wallet, unscrew the cap and insert the tube gently into the pre-cut slot on the kit’s inner box. This will hold the tube upright during sample collection.
The best location for collecting finger prick blood samples is from the side of your middle finger or ring finger. Open the pack of lancets.
It’s easier to collect your blood sample when your hand is warm. To prepare, soak your chosen hand in warm water for at least two minutes. Then, dry it thoroughly with a clean, dry towel.
Clean the selected finger using the enclosed alcohol wipe. Dry the finger thoroughly with one of the enclosed swabs, a clean tissue, or allow it to dry naturally in the air. Ensure the finger is fully dry, as moisture may prevent a proper blood drop from forming.
Step 3: Pierce your finger
Press the lancet firmly against the finger and press down into the finger. The single use needle retracts immediately after piercing leaving the device safe for immediate disposal.
This will puncture the skin, causing a small drop of blood to form. Wipe away the first drop using one of the enclosed swabs or a clean tissue.
Step 4: Collect the blood
Holding your hand/arm downwards, firmly massage the side of your hand down to your fingertips to encourage blood flow.
Allow the blood to drop into the collection tube using the scoop at the top of the tube to guide the blood into the tube.
Fill the blood collection tube up to the upper line marked on the side.
Step 5: If blood flow stops
If you’re unable to collect enough blood, wipe your finger with one of the enclosed swabs or a dry tissue. Pause for 5 to 10 seconds to allow additional blood drops to form. If no more blood appears, use a new lancet on another finger.
Step 6: To finish
Once you have filled the tube up to the top line or just over – stop collecting. Apply the enclosed plaster to your finger to stop the bleeding. Then, firmly press the cap onto the tube until you hear a click, confirming it is securely closed.
Once you have replaced the cap, gently invert the collection tube 5–10 times.
Step 7: Return your sample
Ensure your collection tube is correctly labelled with your details using the label provided in your kit or on your laboratory form.
Important: Unlabelled samples cannot be accepted.
Attach the label by placing the tube in the middle of the label and wrapping it around the tube. Then, place the labelled tube into the protective packaging wallet provided.
Place the following items into the enclosed pre-addressed return envelope:
- The protective packaging wallet containing the labelled collection tube.
- The completed laboratory form.
Step 8: Tracking your sample
The enclosed envelope has a unique tracking label attached to it. Before posting the envelope, please make a note of your unique tracking code beneath the barcode.
What to expect after the test
You should receive your results within five working days straight into your Perci Health record.
Normal result: This means that your PSA level is within the expected range for your age, which is reassuring. Although no test is perfect, this result makes it less likely that you have a significant prostate problem at this time. If you have had a PSA test before, we recommend that you compare your current result with your previous results. Even if your PSA level is still within the normal range for your age, a noticeable increase compared with previous test results is worth discussing with your GP. They can advise whether a repeat PSA test in a few months or any further assessment is appropriate.
Abnormal result: This means your PSA level is higher than expected. You’ll be advised to contact your GP to arrange further investigations. This doesn’t mean you have cancer – many abnormal results are due to other conditions, like an enlarged prostate.
Need help?
If your kit hasn’t arrived within seven working days, or if you need a replacement, please contact our Customer Success Team via hello@percihealth.com or on 020 3728 8848.